The enclosure is the first thing you should consider after buying a subwoofer. I mean, if you have bought the best 12-inch subwoofer for your car, you need to place it in the best enclosure possible. That is why making a fiberglass subwoofer box appears to be a great idea.
The minimal price for the fiberglass enclosures starts at $200, so even the cheap model will set you back more than the subwoofer. At the same time, all the materials needed to make a custom box will be substantially less expensive ($100 – $150, depending on the fiberglass you choose for your project).
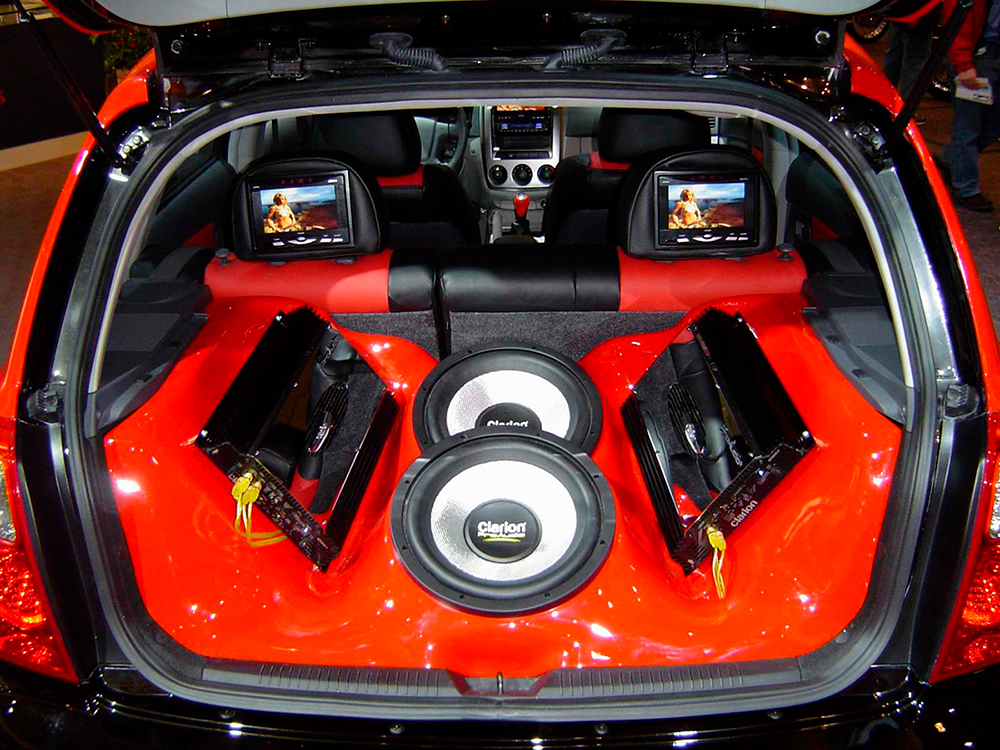
The fiberglass box has a number of distinct advantages over other forms of enclosures. To begin with, it can be shaped to properly suit the shape of your trunk and mimic its features. It’s also a highly customizable enclosure. You can alter its thickness, shape, color, and cover, among other things. It’s also more durable than wood (although some craftsmen choose to blend the two materials).
From our tutorial, you’ll learn how to make a fiberglass subwoofer box in the trunk of your vehicle. It’s important to note that, while this project isn’t tough, it will necessitate a lot of steps and patience.
Fiberglass Subwoofer Box Creation
Required materials
|
|
Required tools
|
|
The process of hand-crafting a fiberglass subwoofer box takes more than 24 hours. Remember that polyester fiberglass resin is a dangerous product, so use a dust mask or respirator, gloves, and goggles when dealing with it.
Step #1
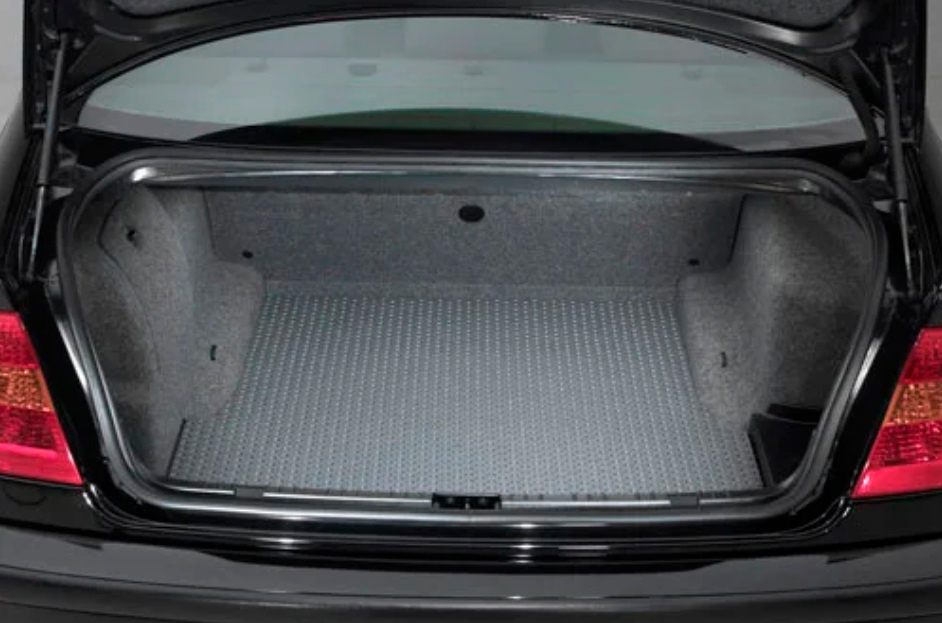
Make sure your car’s trunk is perfectly clean before you start. Remove everything from the area (save the carpet) and vacuum it thoroughly. If dust collects on the fiberglass resin, the entire process will be ruined. If you think the trunk lid is bothering you, you can even remove it.
Step #2
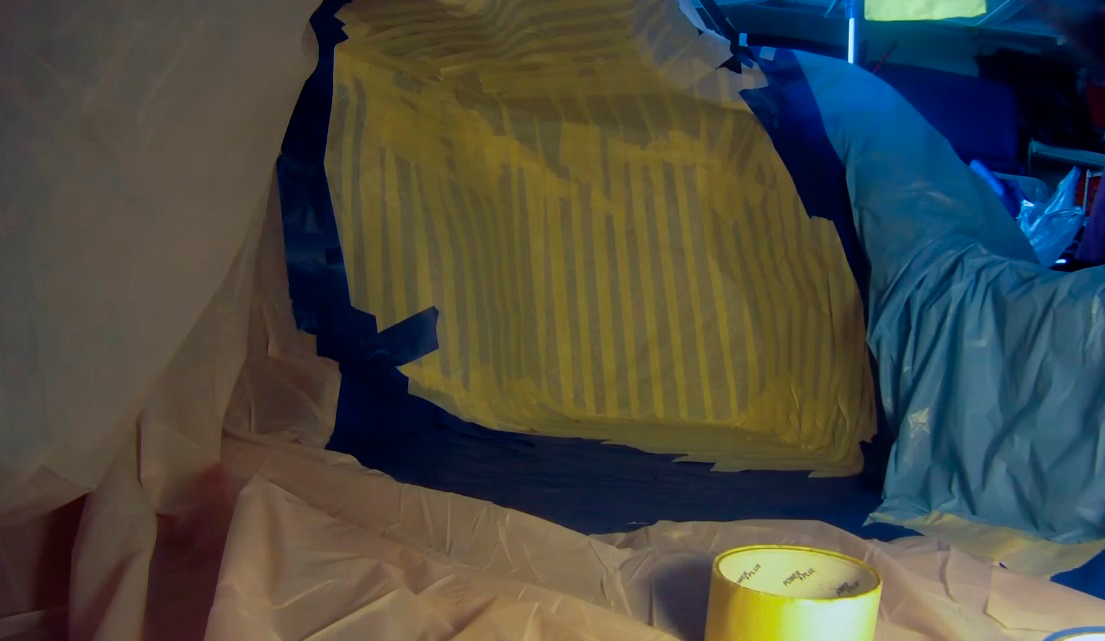
To prevent chemicals from seeping into your car’s trunk, place masking tape there. If the resin gets anywhere, it will be nearly impossible to remove, so try your best. When you’re done, your trunk should resemble this:
Step #3
Then, on top of the masking tape, apply a thick layer of foil. Before you begin glassing, it’s also a good idea to lay down something like newspapers all around the work area.

Step #4
Cut or rip the fiberglass into little squares (don’t forget to wear gloves while doing it). It will be laid down in a papier-mâché style.
Step #5
Mix the resin with a hardener to make it ready to use (the ratio should be specified on the package). If you mix too much at once, it will dry out before you finish the task.
Step #6
Apply a basic layer of the mixture to the area where you want the box to be with a paintbrush. Wear a mask or a respirator and goggles and only do it in a well-ventilated location.
Step #7
Lay down a layer of fiberglass before the resin dries. It will take at least 2 hours for each layer to dry (however, you can use a hair dryer to make it dry faster). It’s suggested that you do about 4 -5 layers. Otherwise, your box will be moving while you are driving. Remember to make the shell bigger than you actually want it to be as you will be trimming it later. You should also beware of air bubbles because they can weaken your box. If you see them, spread the resin out with a brush.
Step #8
Using a pencil, draw two circles around the subwoofer on the MDF board (you’ll need two rings). To create a mount for the subwoofer, use a jigsaw or any other equipment that is handy for you to cut out the rings (similar to those on a picture). If you believe they’ll be too noticeable, paint them black or another color.
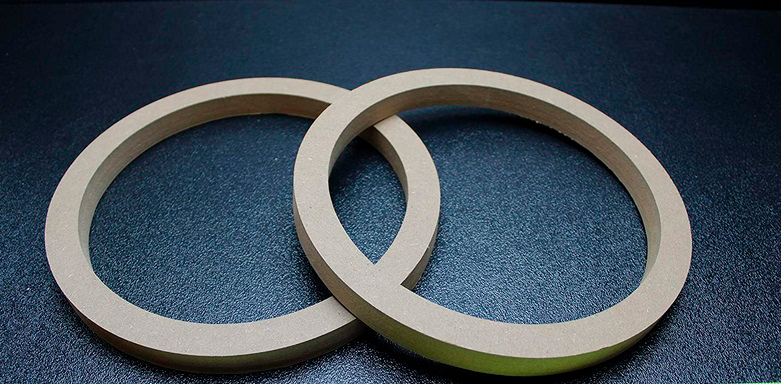
The first ring will go along the circumference of the sub. The other ring will be glued to it for screwing in the subwoofer.
Step #9
Once the resin has fully dried, remove the enclosure from the trunk. It will be difficult, so you will have to put out some effort and may require assistance.
Step #10
After removing the enclosure from the car, clean it of any tape and foil. Trim the edges using a jigsaw or a die grinder (they will be very uneven as you pull the enclosure out). Place the box back in the trunk, draw a pencil line around the corners, and cut them out.
Step #11
Place the rings on the box and secure them with dowels that should be glued in place.

Hi everyone! I’m Thomas Moody, also known as Guitarzan.